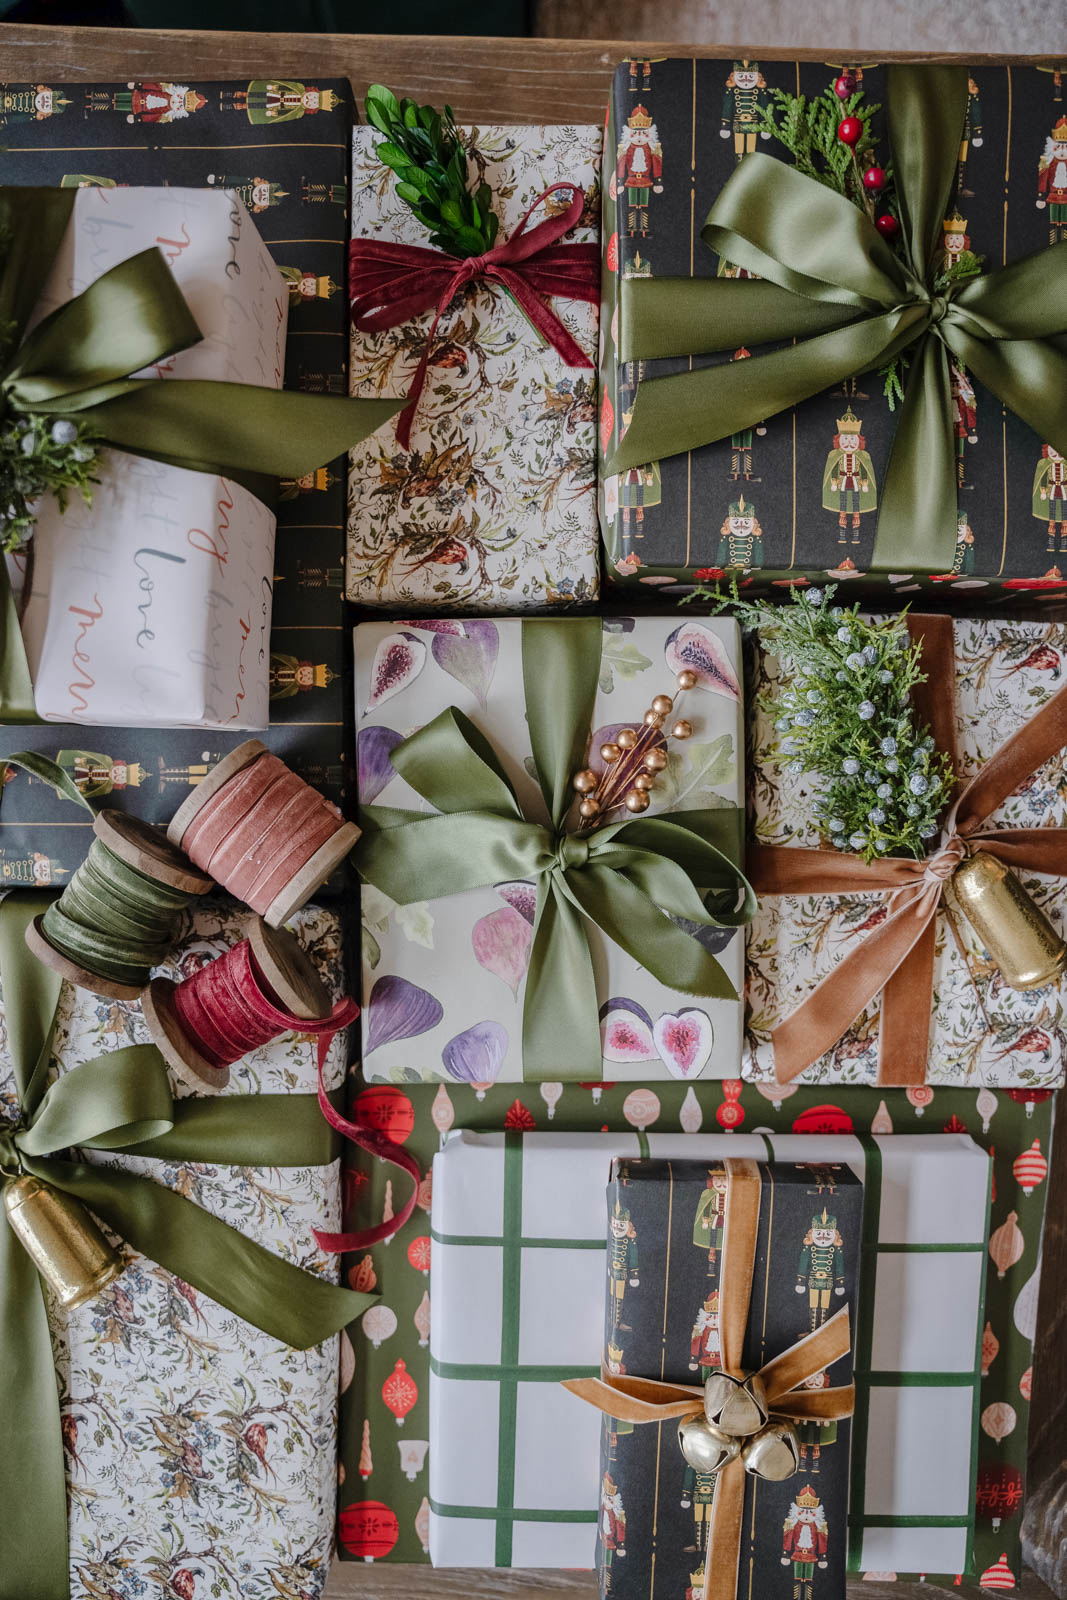
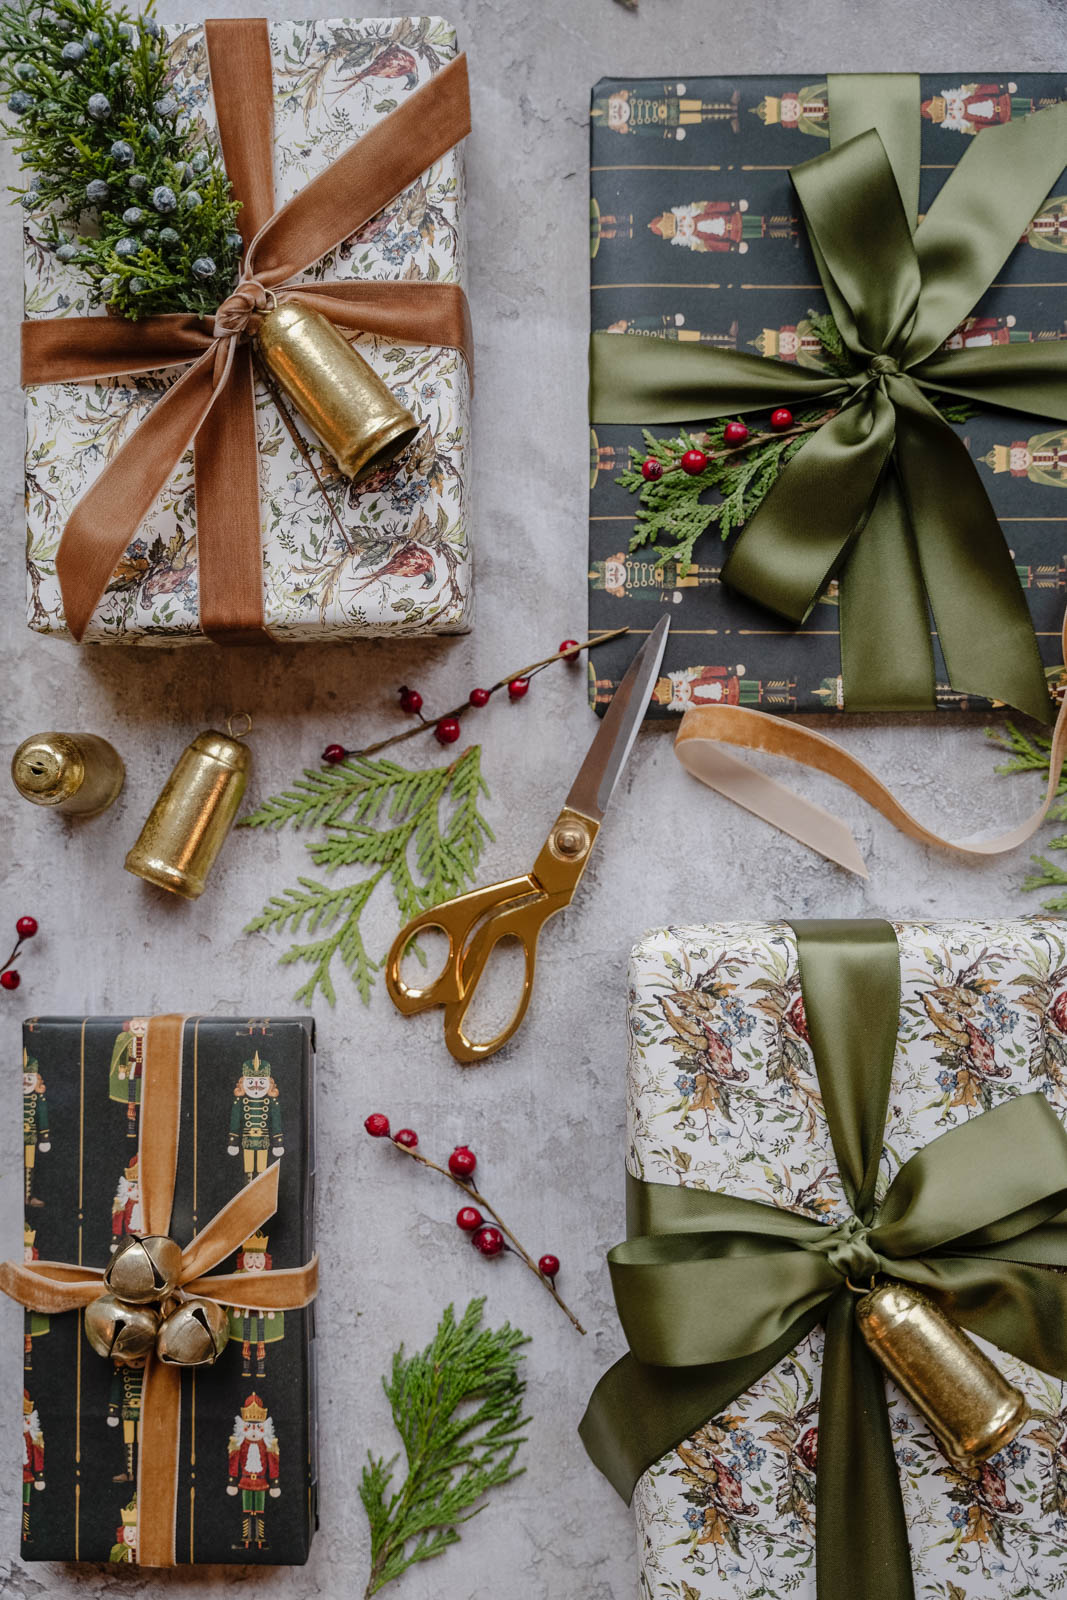
Is it just me, or can gift wrapping be seriously cathartic? Turn on The Holiday, sip a cozy beverage, and let loose with double-sided tape and a good pair of scissors.
But first – the perfect paper! Finding creative ways to display thoughtfully selected gifts (or last-minute panic purchases) is what makes the process so fun. This year, I’ve curated my favorite collection yet for the Shoppe. See our selection below, along with all the best tips and trimmings to set you up for wrapping success.
In our house, colorful gifts under the tree are part of the holiday décor. We’ll see how long that lasts with a baby on the loose…
KEEP A LIST
Number packages as they arrive and keep a corresponding list of their recipients in your phone. That way you don’t lose track of who gets what when the time comes to wrap.
Still shopping? Check out my gift guides for inspiration.
GATHER YOUR SUPPLIES
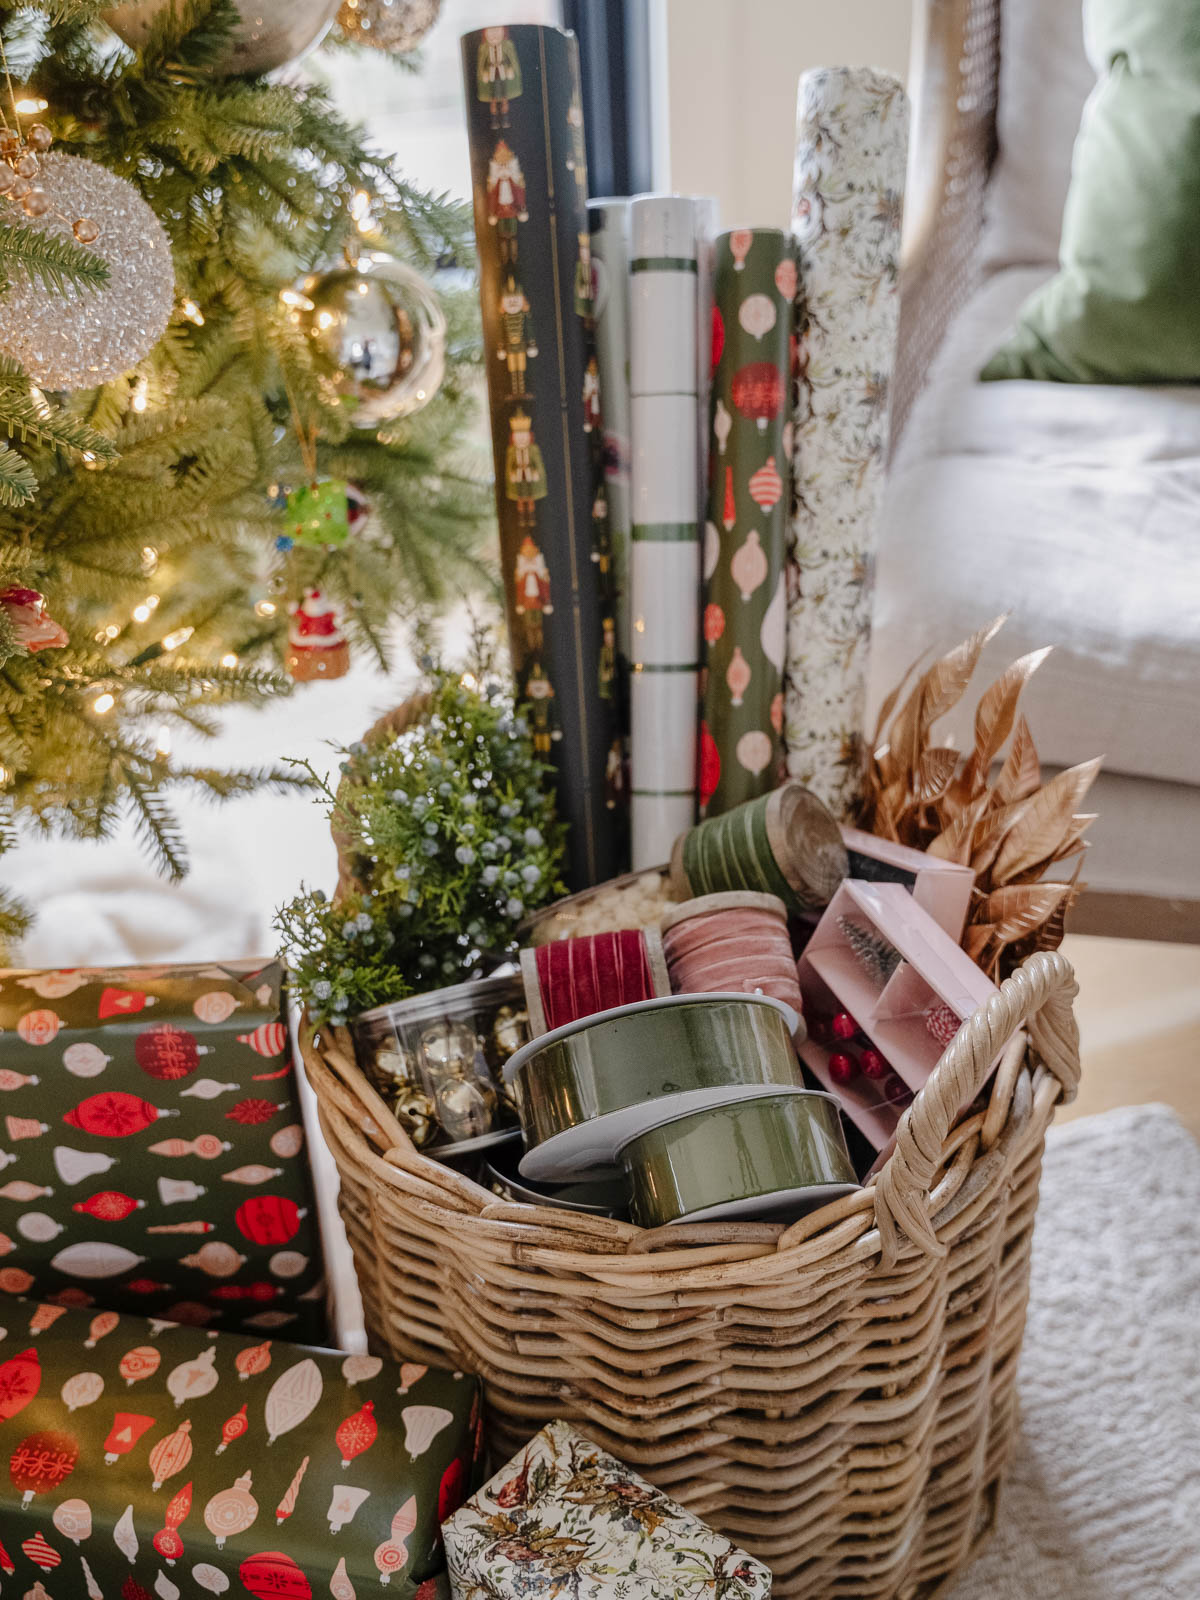
Grab a roll or two of our gorgeous gift wrap, then double check to be sure you have the other essentials on hand:
- box cutter to open packages
- double-sided tape
- embellishments
- gift tags or stickers
- gift wrap cutter
- scissors
GET ORGANIZED
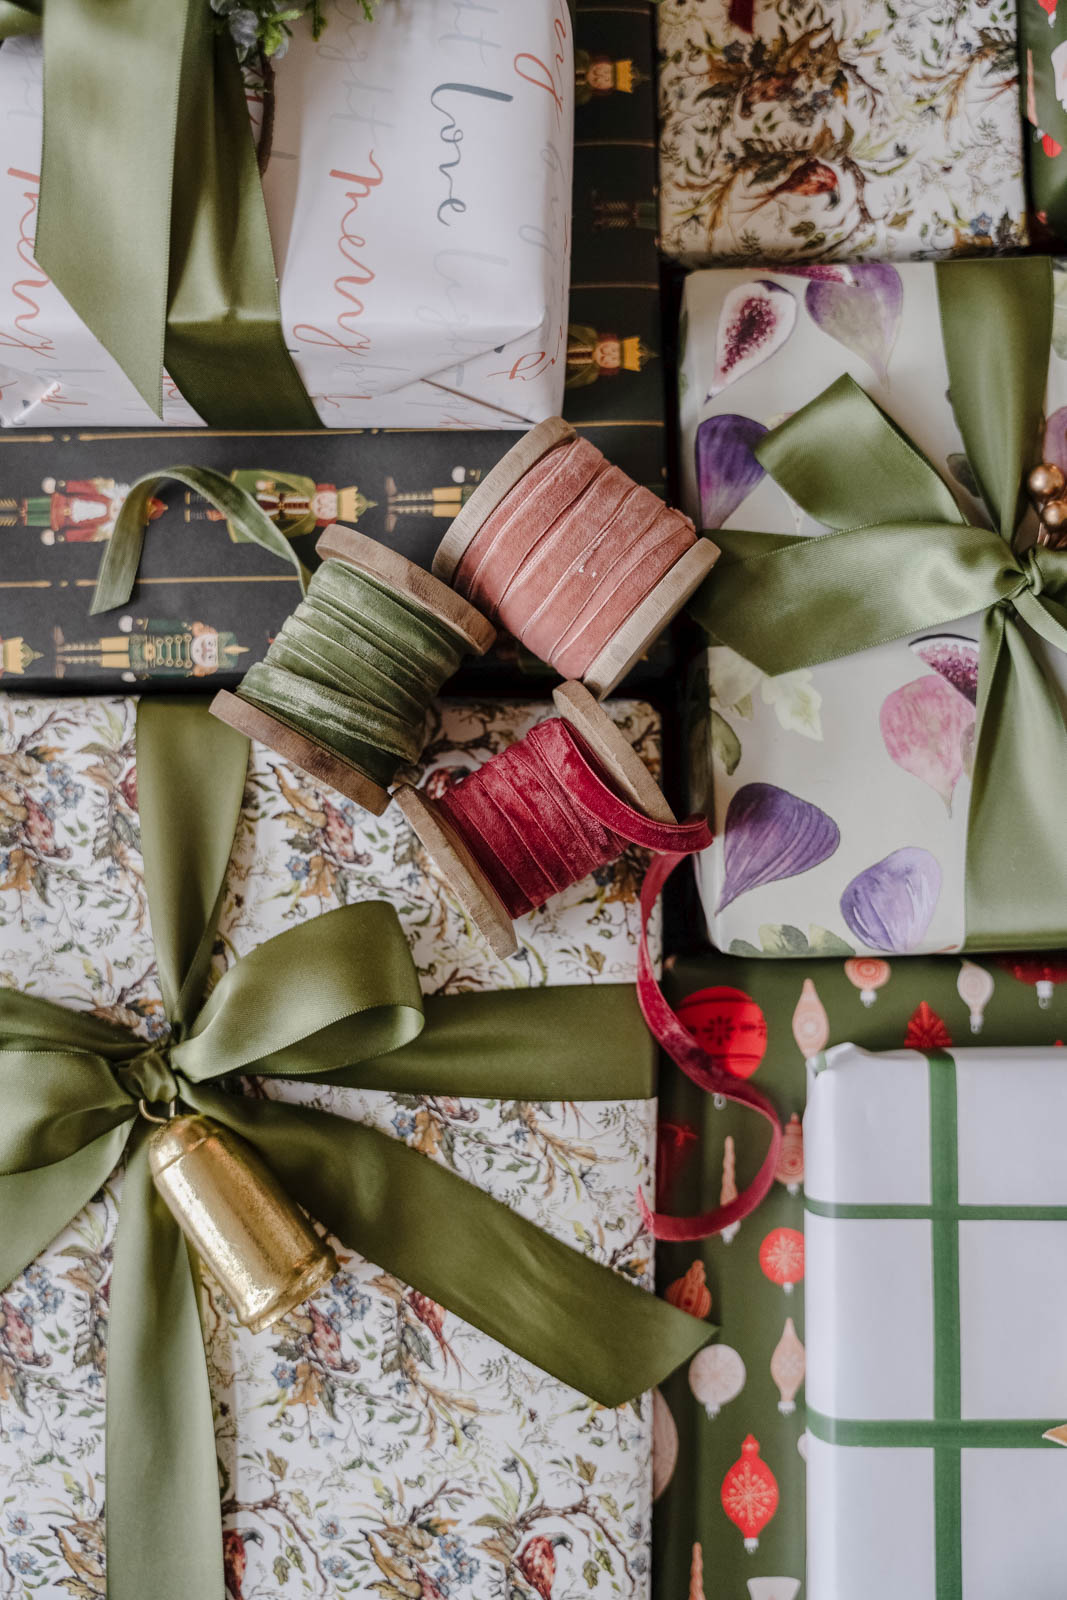
Keep your supplies organized in a cute basket by the tree or in a practical container under the bed. Stack spools of ribbon on a paper towel holder, and use wrap buddies to hold down your paper rolls like a pro.
WRAP IT UP
Always measure twice and cut once to prevent paper waste. This gift wrap cutter or my go-to scissors cut the smoothest lines. I like to start wrapping with the present upside down and use double-sided tape for pretty edges. Fill out tags last so the kids don’t try to break into their gifts early. On that note, I swear by hiding packages in luggage. (A great idea for presents from you know who).
Here are a few inspiration photos for you of some of the presents I have wrapped!
Enjoy this post? Make sure to subscribe to my weekly newsletter for more! You can also follow me on Instagram, Pinterest, Shop.LTK & Facebook!
