 cristincooper.com-50")
 cristincooper.com-42")
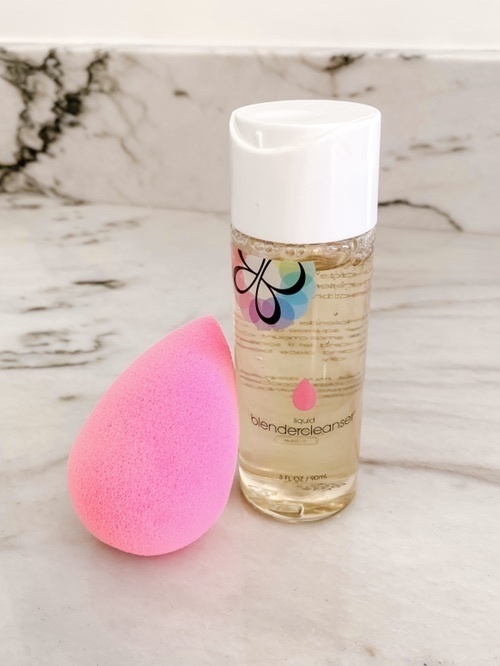
The famous Beauty Blender – the coveted, egg-shaped, pink, makeup sponge. It is one of my favorite ways to apply makeup. It gives you an even, almost airbrushed finish to your makeup, rivaled only by the expensive Artis brushes. In this blog post, I’m sharing how to use a Beauty Blender, how to clean it, how to store it, and some great dupes.
How to Use a Beauty Blender
A Beauty Blender is excellent for applying foundation, concealer or to set with powder!
- First, wet the sponge. Next, squeeze out all the water. I even squeeze the beauty blender in a makeup towel to make sure all excess water is out. The key is that you almost want it to feel dry as it only needs a little moisture to work. It seems counterintuitive but you want it to absorb the water instead of your makeup.
- Put the makeup directly on your face. You’ll use less makeup and less will absorb into the sponge itself.Â
- Tap the makeup into the skin. Don’t rub it in, just dab and press. The tapping motion not only deposits the makeup onto your skin but it blends out any makeup lines. Running the Beauty Blender across your face just moves the makeup around.
- I use the rounded side of the sponge to apply foundation and to set with powder and the pointed end to apply concealer. Need a tutorial for applying concealer? Watch my Hourglass vs. Shape Tape video here.Â
How to Clean a Beauty Blender
I store my clean Beauty Blender in these travel cases or sit them on brush organizer to dry. The container comes with another knockoff but I don’t like it. These containers are the best because they let the sponge dry completely so it doesn’t mold. And they’re so easy to throw in my makeup bag when I travel.Â
- Cetaphil, Aveeno, any old drugstore cleanser will clean your sponge. However, the official Beauty Blender cleaner is amazing! You can get it at Sephora here. I typically take the cheapest cleanser I have on hand and I wash the sponge like I would anything else.Â
- Don’t just squeeze the water out with a washcloth, get it really dry by squeezing a paper towel around it.Â
- A good tip is to clean your Beauty Blender once per week, but to be honest I typically do it once per month.Â
- If it is covered in makeup, no matter how many times you wash it, or if it starts to crack and break apart, it’s probably time to throw it away. Yes, the less pink it is, switch it out for a new one. The official Beauty Blender site says every 3-6 months.Â
Beauty Blender Dupes
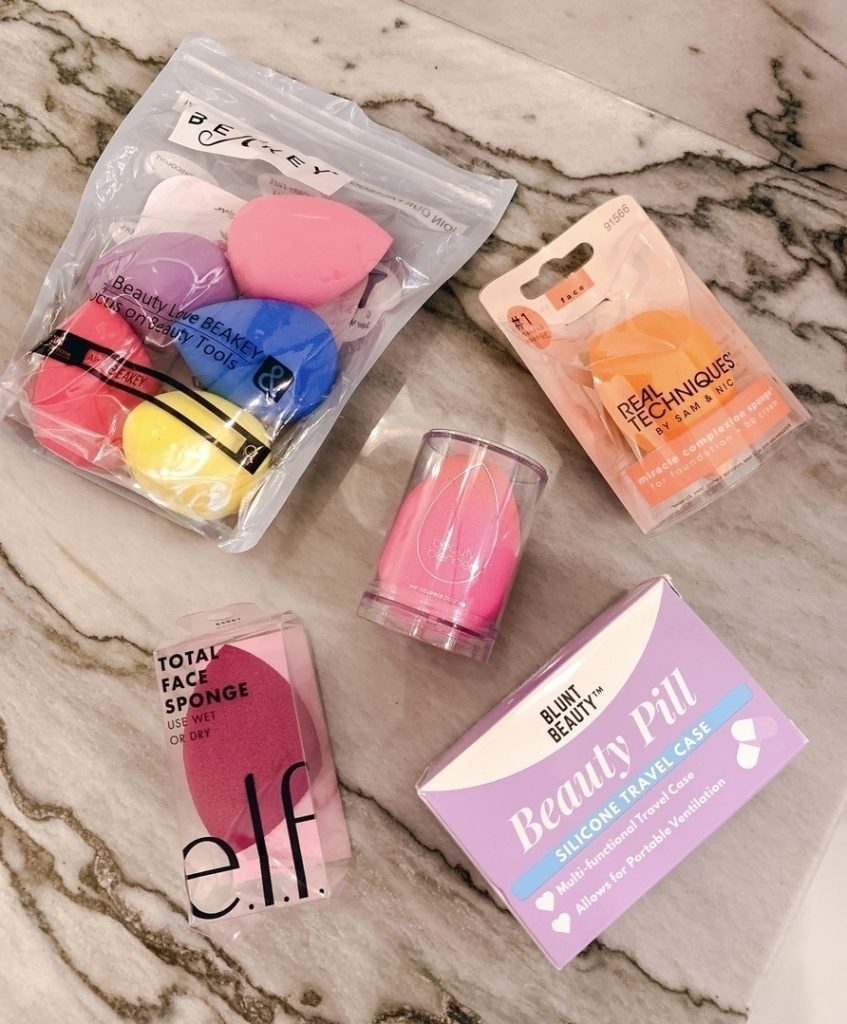
Honestly, nothing compares to the original, but they’re not budget-friendly. Here are some Beauty Blender dupes I tested.Â
Elf // From the touch it feels nearly identical to the original. It is a little more porous and soaks up more of your makeup but this is a great dupe.Â
Amazon // This Amazon dupe is smoother than the original. But it pulls in so much water (you’ll want to watch the video below to see just how much). I don’t think it puts as much foundation on your skin as the original and you honestly have to squeeze out so much water.Â
Real Technique // If I haven’t stocked up on the original Beauty Blender during a Sephora sale, this dupe from Real Technique is my go-to for daily use. I like the flat side for applying foundation and the pointed side for concealer.
I even did an Instagram live comparing the original with the dupes and saved it this IGTV video (with cameos from the girls – hello real life!)Â

Blender Defender Protective Case // Real Techniques Mini MC Sponges // Real Techniques Miracle Complexion Sponge // BEAKEY 5 Pcs Beauty Makeup Blender Sponge set // BEZOX Makeup Sponge Holder // ORIGINAL BEAUTYBLENDER // beautyblender – Rocket To Flawless Blend & Cleanse Sponge Set // Beautyblender Electric Feels Set // LanMa Beauty Sponge Blender Holder // e.l.f. Total Face Sponge // Beauty Blender Holder // Sonia KashukTM Latex-Free Makeup Blender Sponge

 cristincooper.com-32")
Thank you! I’ve been trying to effectively clean my beauty blenders…and replace a few… so this is ultra helpful. Thanks fir the tips!