 cristincooper.com-50")
 cristincooper.com-42")
how I keep all of our memories backed up
Step 1: Install the Dropbox App
- Open the App Store on your iPhone.
- Search for Dropbox in the search bar.
- Tap Install to download the Dropbox app.
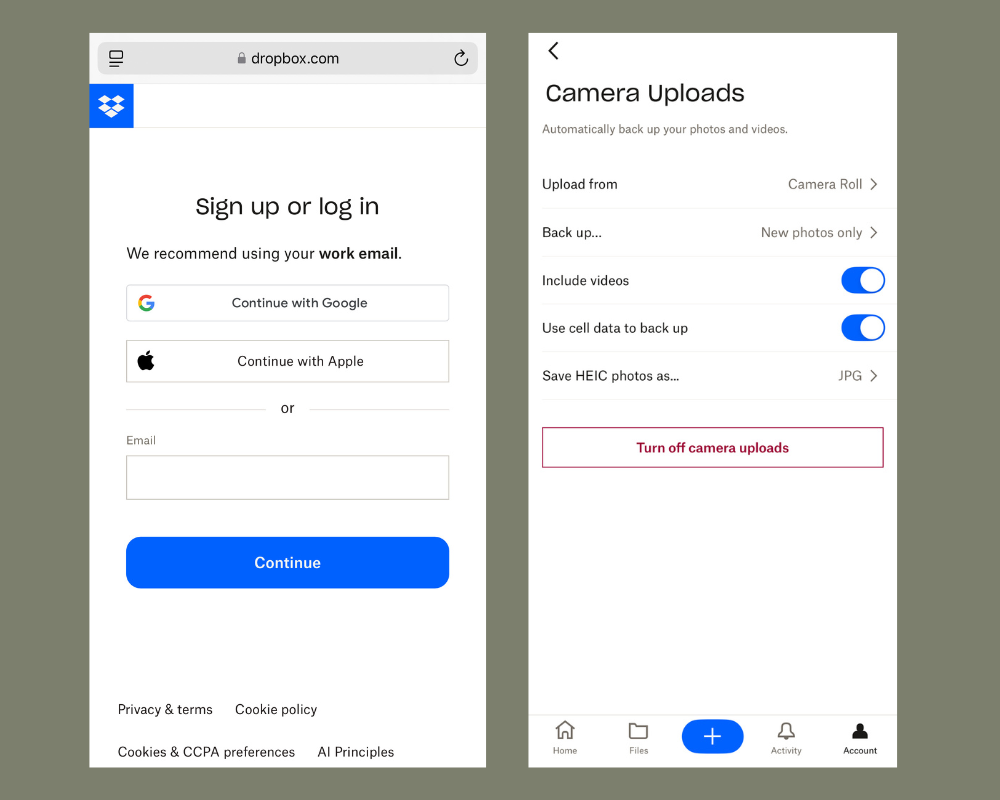
- Once downloaded, open the app and sign in to your Dropbox account, or create a new one if you don’t have an account yet.
The List by Cristin Cooper is a reader-supported publication. To receive new posts and support my work, consider becoming a paid subscriber.
Step 2: Enable Camera Upload (Automatic Backup – This is the option I use)
- Open the Dropbox app on your iPhone.
- Tap the profile icon (your initials or profile picture) in the bottom right corner of the screen to go to settings.
- Scroll down and tap on Camera Uploads.
- Toggle the Camera Uploads option to “On.” This will automatically upload all new photos and videos to Dropbox as you take them.
- You can choose to upload over Wi-Fi only or Wi-Fi and Cellular Data, depending on your preference.
Step 3: Manually Upload Photos to Dropbox (If You Prefer Not to Use Camera Uploads)
- Open the Photos app on your iPhone.
- Select the photos you want to upload by tapping Select in the top right corner, then tapping on the photos you want to back up.
- Tap the Share icon (the square with an upward arrow) at the bottom left.
- Scroll down and tap on the Dropbox icon.
- Choose the folder in Dropbox where you want to upload the photos or create a new folder by tapping Create Folder.
- Tap Upload to add your photos to Dropbox.
Step 4: Check Your Photos on Dropbox
- Open the Dropbox app and go to the folder where you uploaded your photos.
- You can view, share, and manage your photos directly from the app.
Step 5: Move Photos to Folders for Month & Year
- Create a Master Folder for Organization
- In Dropbox, go to your PHOTOS MASTER folder.
- If you don’t have one, create a new folder and name it PHOTOS MASTER.
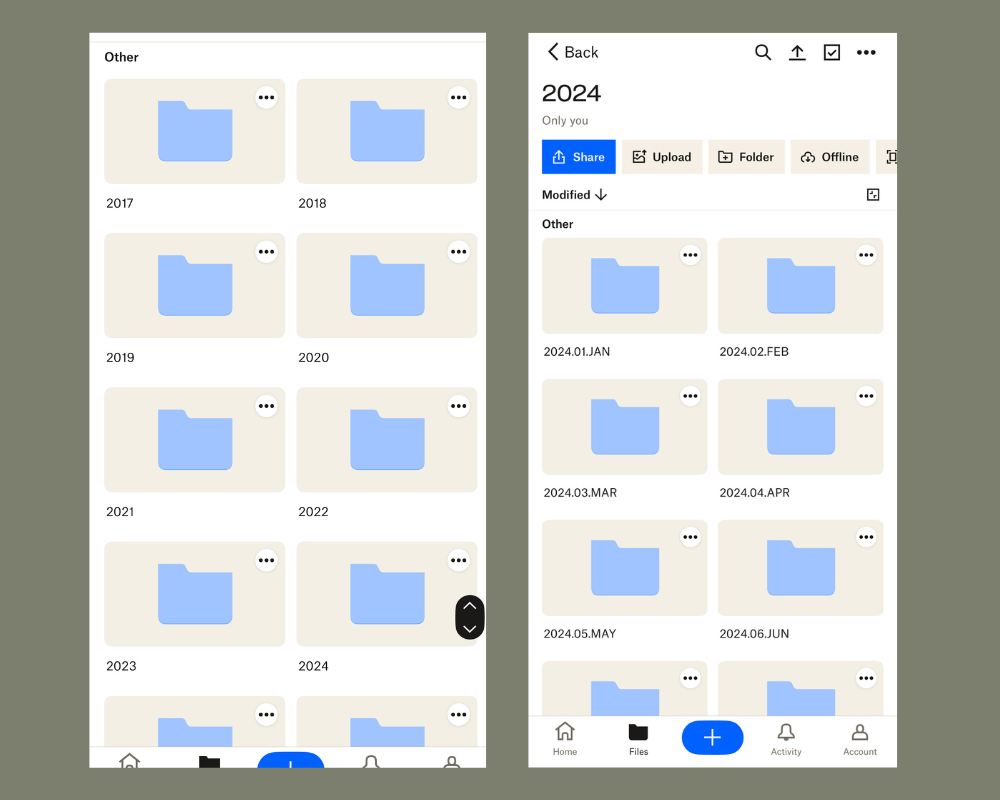
- Create Subfolders for Each Year
- Inside the PHOTOS MASTER folder, create subfolders for each year (e.g., 2024, 2025, etc.).
- Organize Photos by Month
- Within each Year folder (e.g., 2025), create subfolders for each month.
- Name each month’s folder using this format: Year.Month Number.Month Abbreviation (e.g., 2025.01.JAN, 2025.02.FEB).
- This numbering format helps keep your photos in order, and the month abbreviation makes it easier to identify.
- Clean Out & Organize Your Photos
- About once a month, review your camera uploads.
- Delete any screenshots or unnecessary photos.
- Move the remaining photos into their appropriate Year and Month folders for better organization.
That’s it! Your photos should now be safely backed up to Dropbox. If you enabled Camera Uploads, future photos will automatically upload as well.

 cristincooper.com-32")